
(with adaptations for moms who are visually impaired)
I’m not a crafty mom. I’m embarrassed to admit that I’m not even on Pinterest. I’m usually too tired for big projects that involve more than one or two steps. I also have a visual impairment, which doesn’t help. Basically, if I can do this with my kids, so can you!
Why the sudden desire to do a homemade project?
Well, I recently started homeschooling my 2 creative, amazing daughters, ages 6 and 9, and I feel like they deserve some fun, interactive projects.
So I found an easy soap recipe and turned it into an educational activity that my kids and I really got into. My favorite part about it is that it’s multi-disciplinary, covering math, science, health, reading, writing and art (and I’m sure you could relate it to social studies and other subjects too)!
Supplies needed:
-pure castile soap (I purchased one gallon from Amazon for $44.00. Dr. Bonner also makes a fair trade, organic castile soap for $59 for a gallon).
-distilled water (I actually didn’t have any the first time I made this recipe, so I simply used filtered water, which means we need to use the soap within a few weeks).
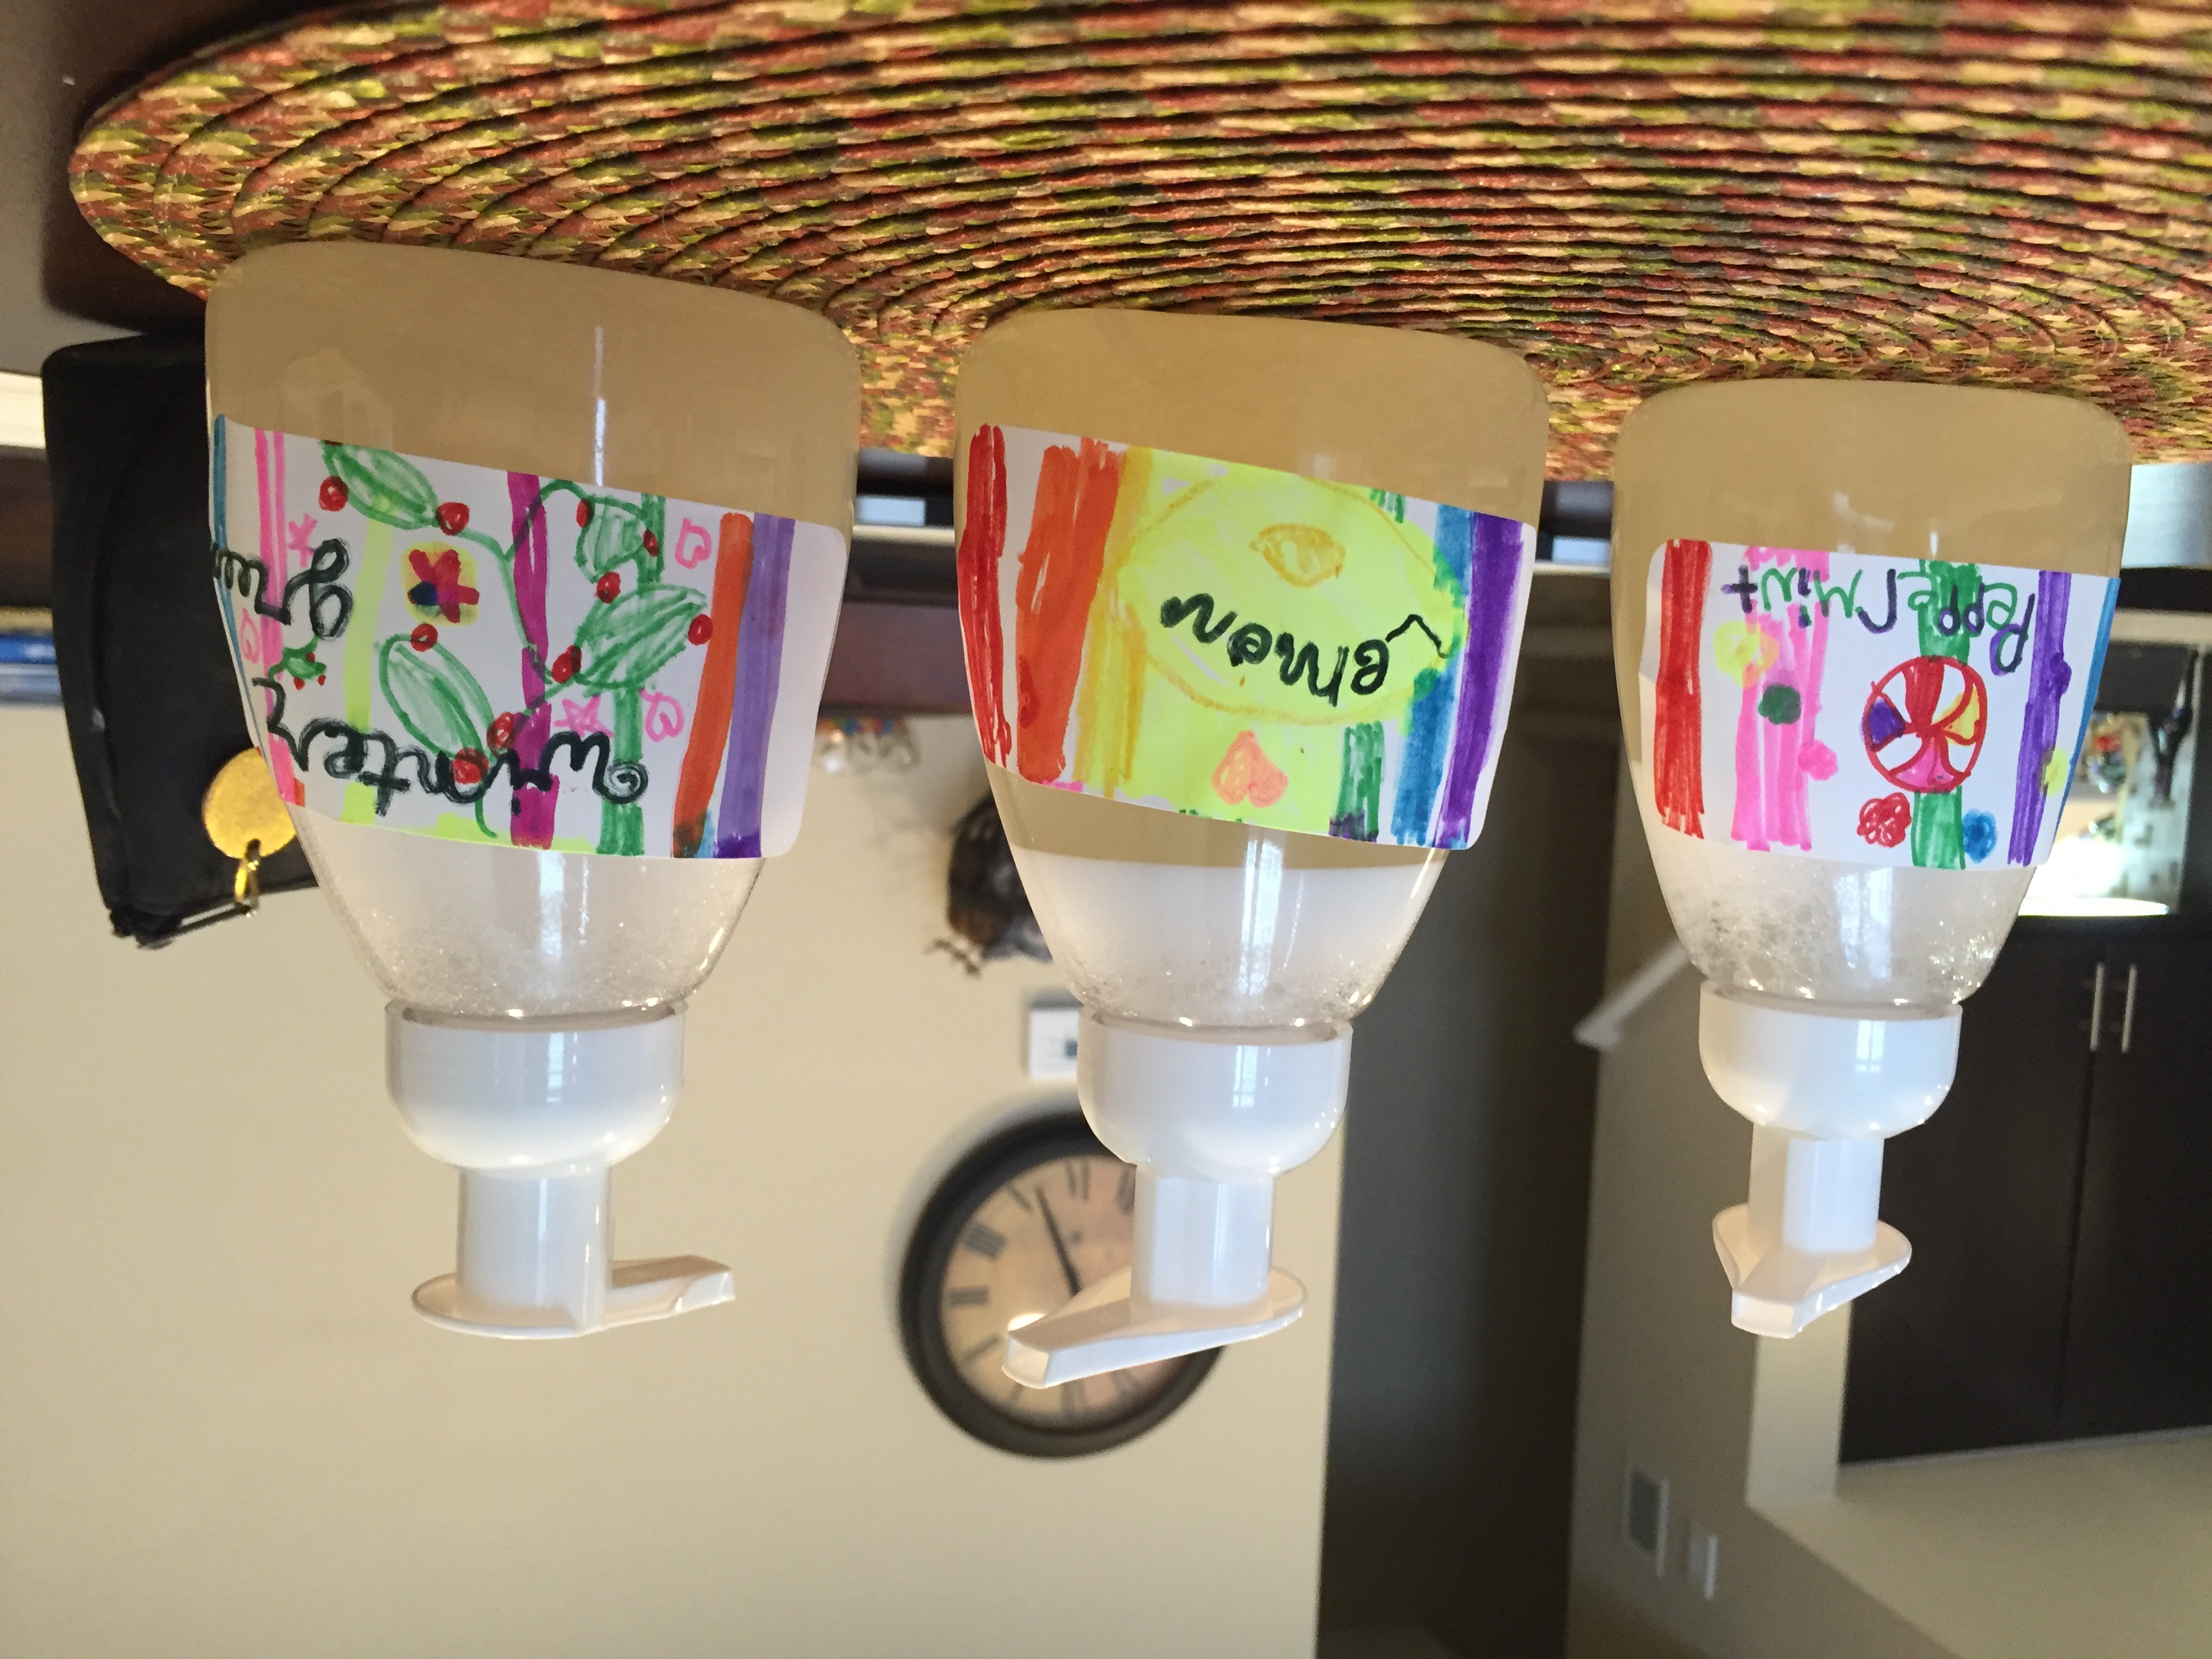
-essential oil of your choice (We made 3 kinds for our first batch using the following oils from Young Living: lemon, peppermint and wintergreen. We found, however, that wintergreen is too expensive for future batches, so we plan to replace that with lavender next time.) The cost of essential oils can vary greatly, depending on whether you purchase on Amazon, wholesale, or are a consultant for companies such as Young Living or DoTerra. You can also purchase peppermint castile soap and skip the oils altogether, although I think the quality of the oils makes a difference!
-vitamin E drops (optional)
-empty 10 oz. soap dispenser(s) (I ordered this 3-pack of foaming soap dispensers for $13.95, as foaming soap saves money and prevents sinks from clogging up over time. The initial cost of these bottles may seem high, but the benefit will pay off when re-using for future batches. You can also find regular soap dispensers at the dollar store, or simply use an empty dispenser from a store-bought one your family has used up.)
-mailing labels to decorate soap dispensers (I used 4″ labels because they were sitting in my office supply bin, but you can use whatever size you’d like).
-markers, stamps, or other art supplies to decorate bottles
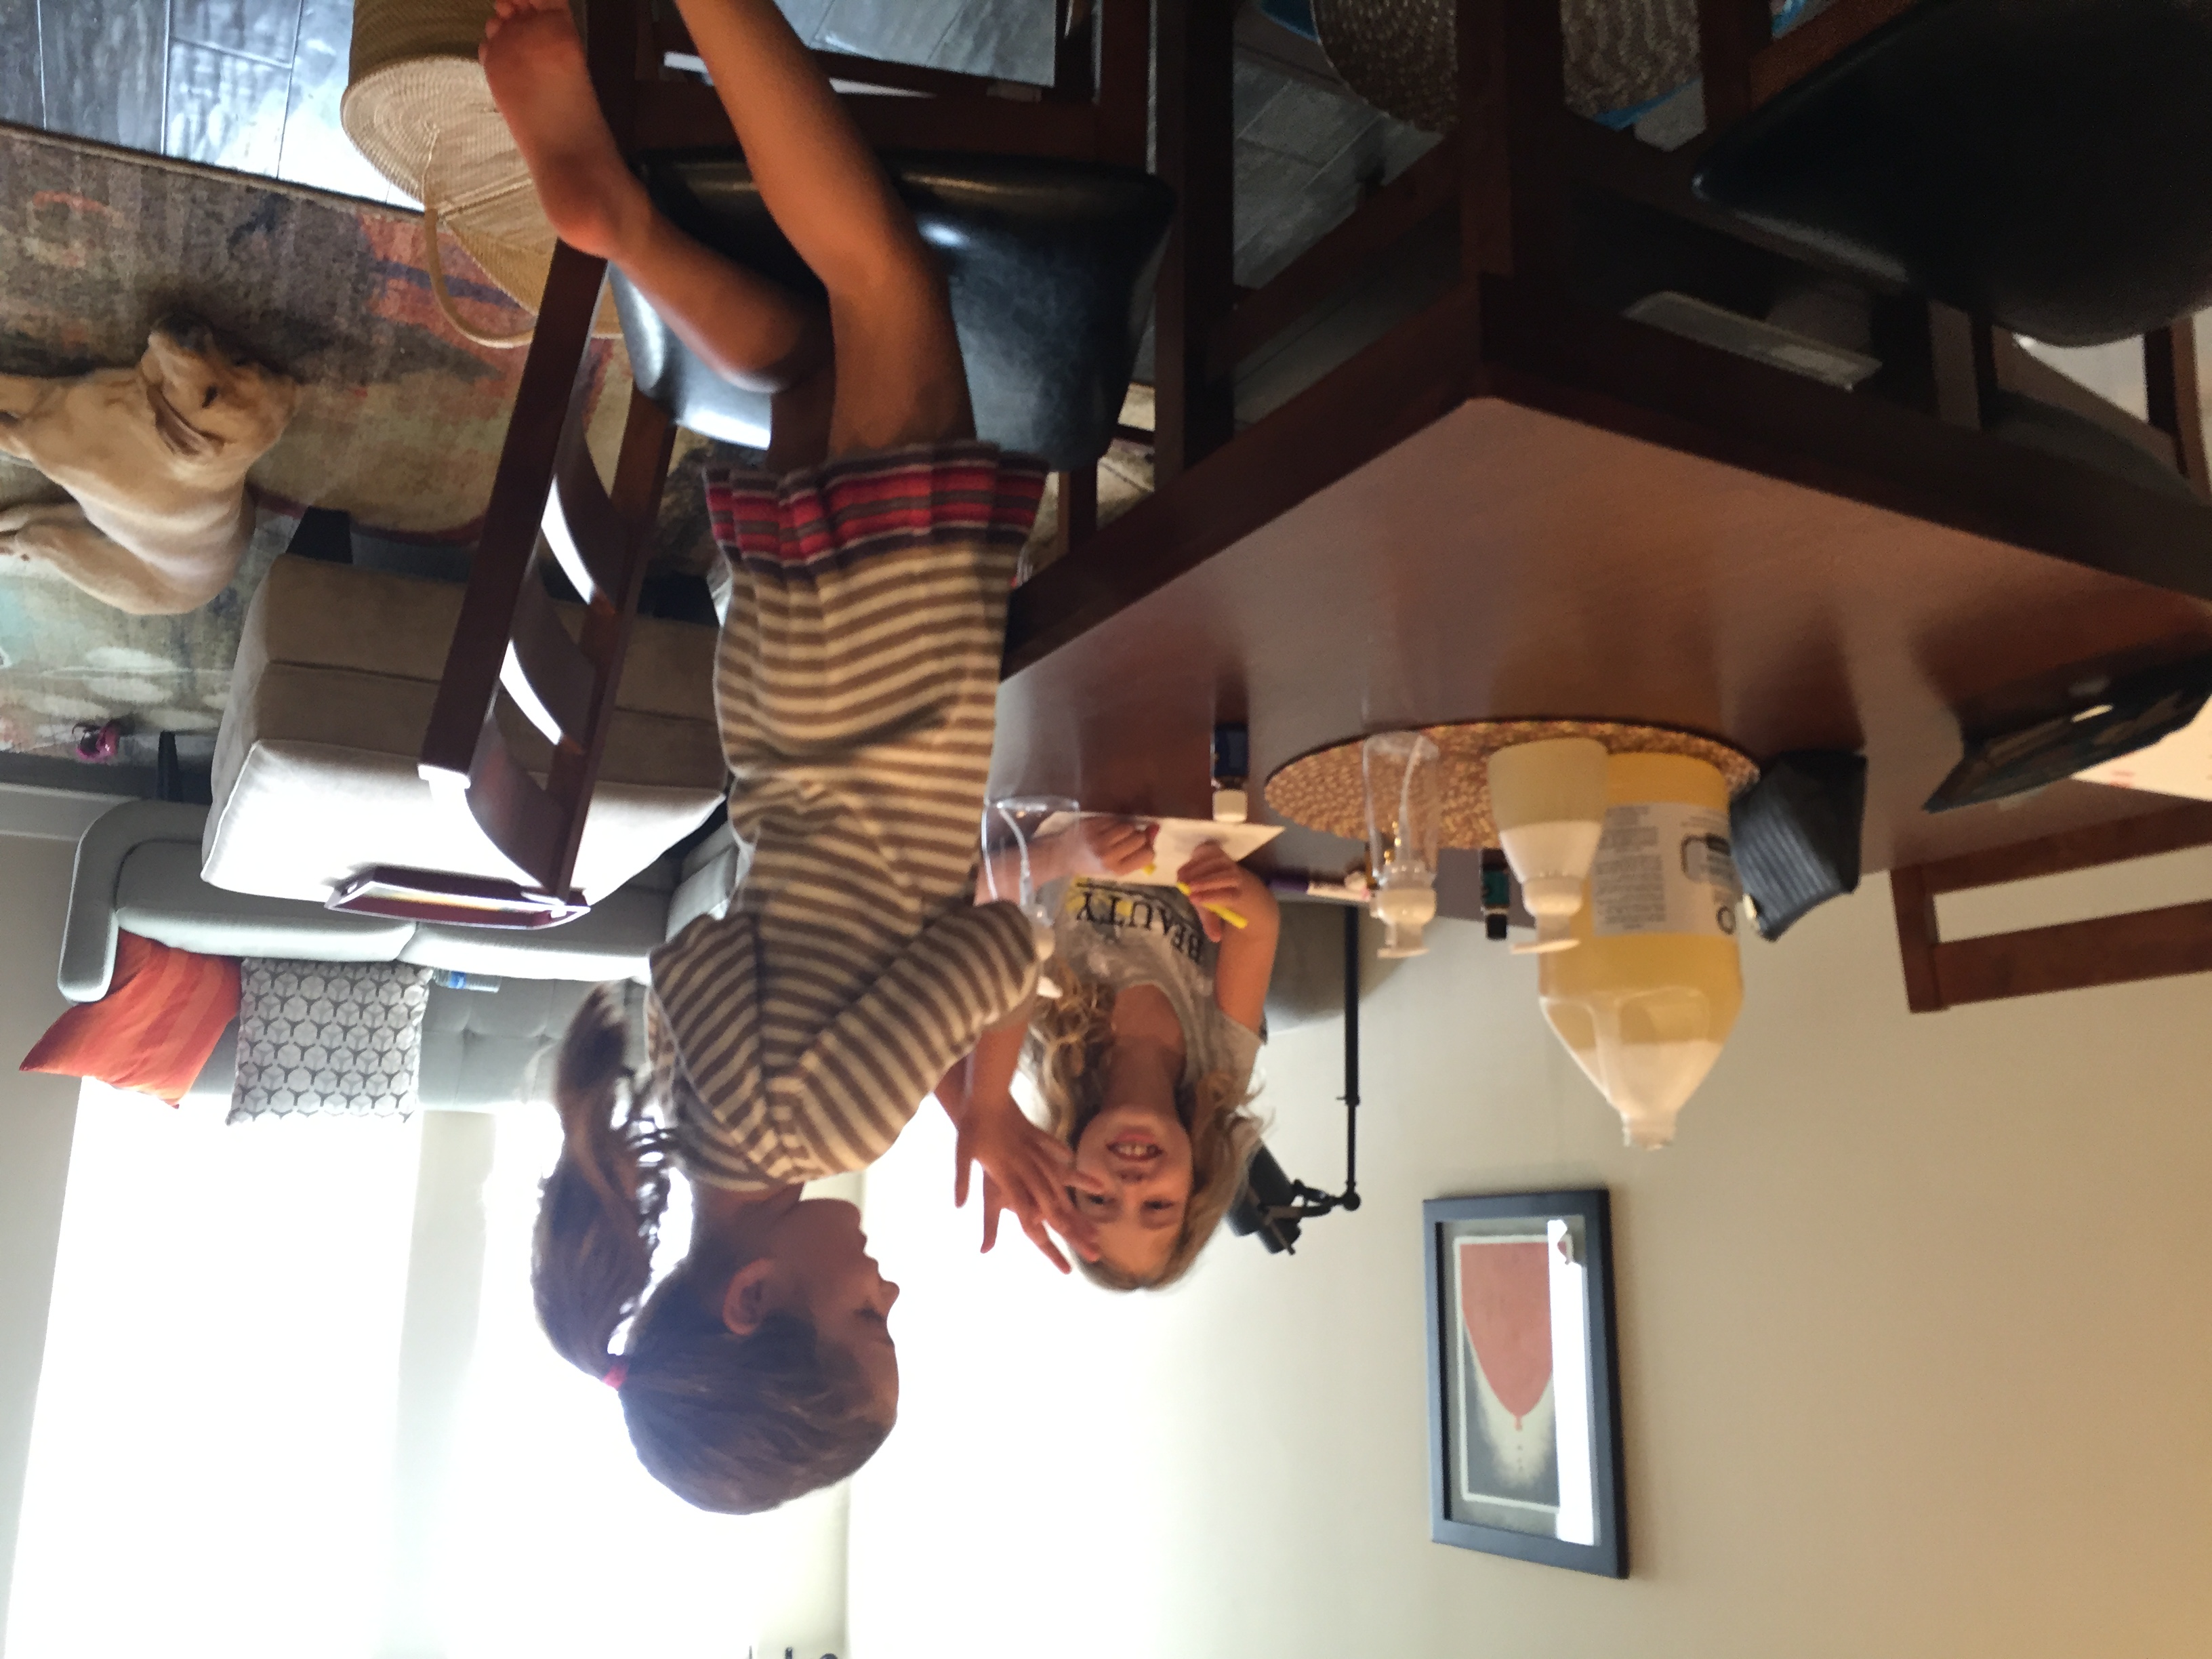
Step 1: Lay out all supplies and get your kids excited about the project by having them look over everything, read all the labels, and choose which essential oil they’d like to use to flavor their soap. Upon seeing the giant bottle of castile soap and all the fun supplies, my kids were immediately engaged.
Step 2: Pour 4 ounces of the pure castile soap into a 10 oz soap dispenser. Have children figure out how much to pour in based on whatever measuring tools you have (i.e. we used measuring cups, so they had to look up how many ounces equal a cup, but you could also use tablespoons or a glass measuring jar with ounces (cheat: 8 ounces =1 cup, so you’d need 1/2 cup of soap for this recipe). Since the gallon bottle is so heavy, I did the pouring and had the kids hold the measuring cup. (Adaptation: place your finger near the top of the measuring tool so that you can feel when the soap hits it. Pour over a sink just in case!)
Step 3: Fill the bottle with water, making sure not to fill too close to the top to prevent spillage. Screw the pump lid on tightly. Your kids can do this part themselves.
Step 4: Shake, shake, shake (the younger ones love this part!)
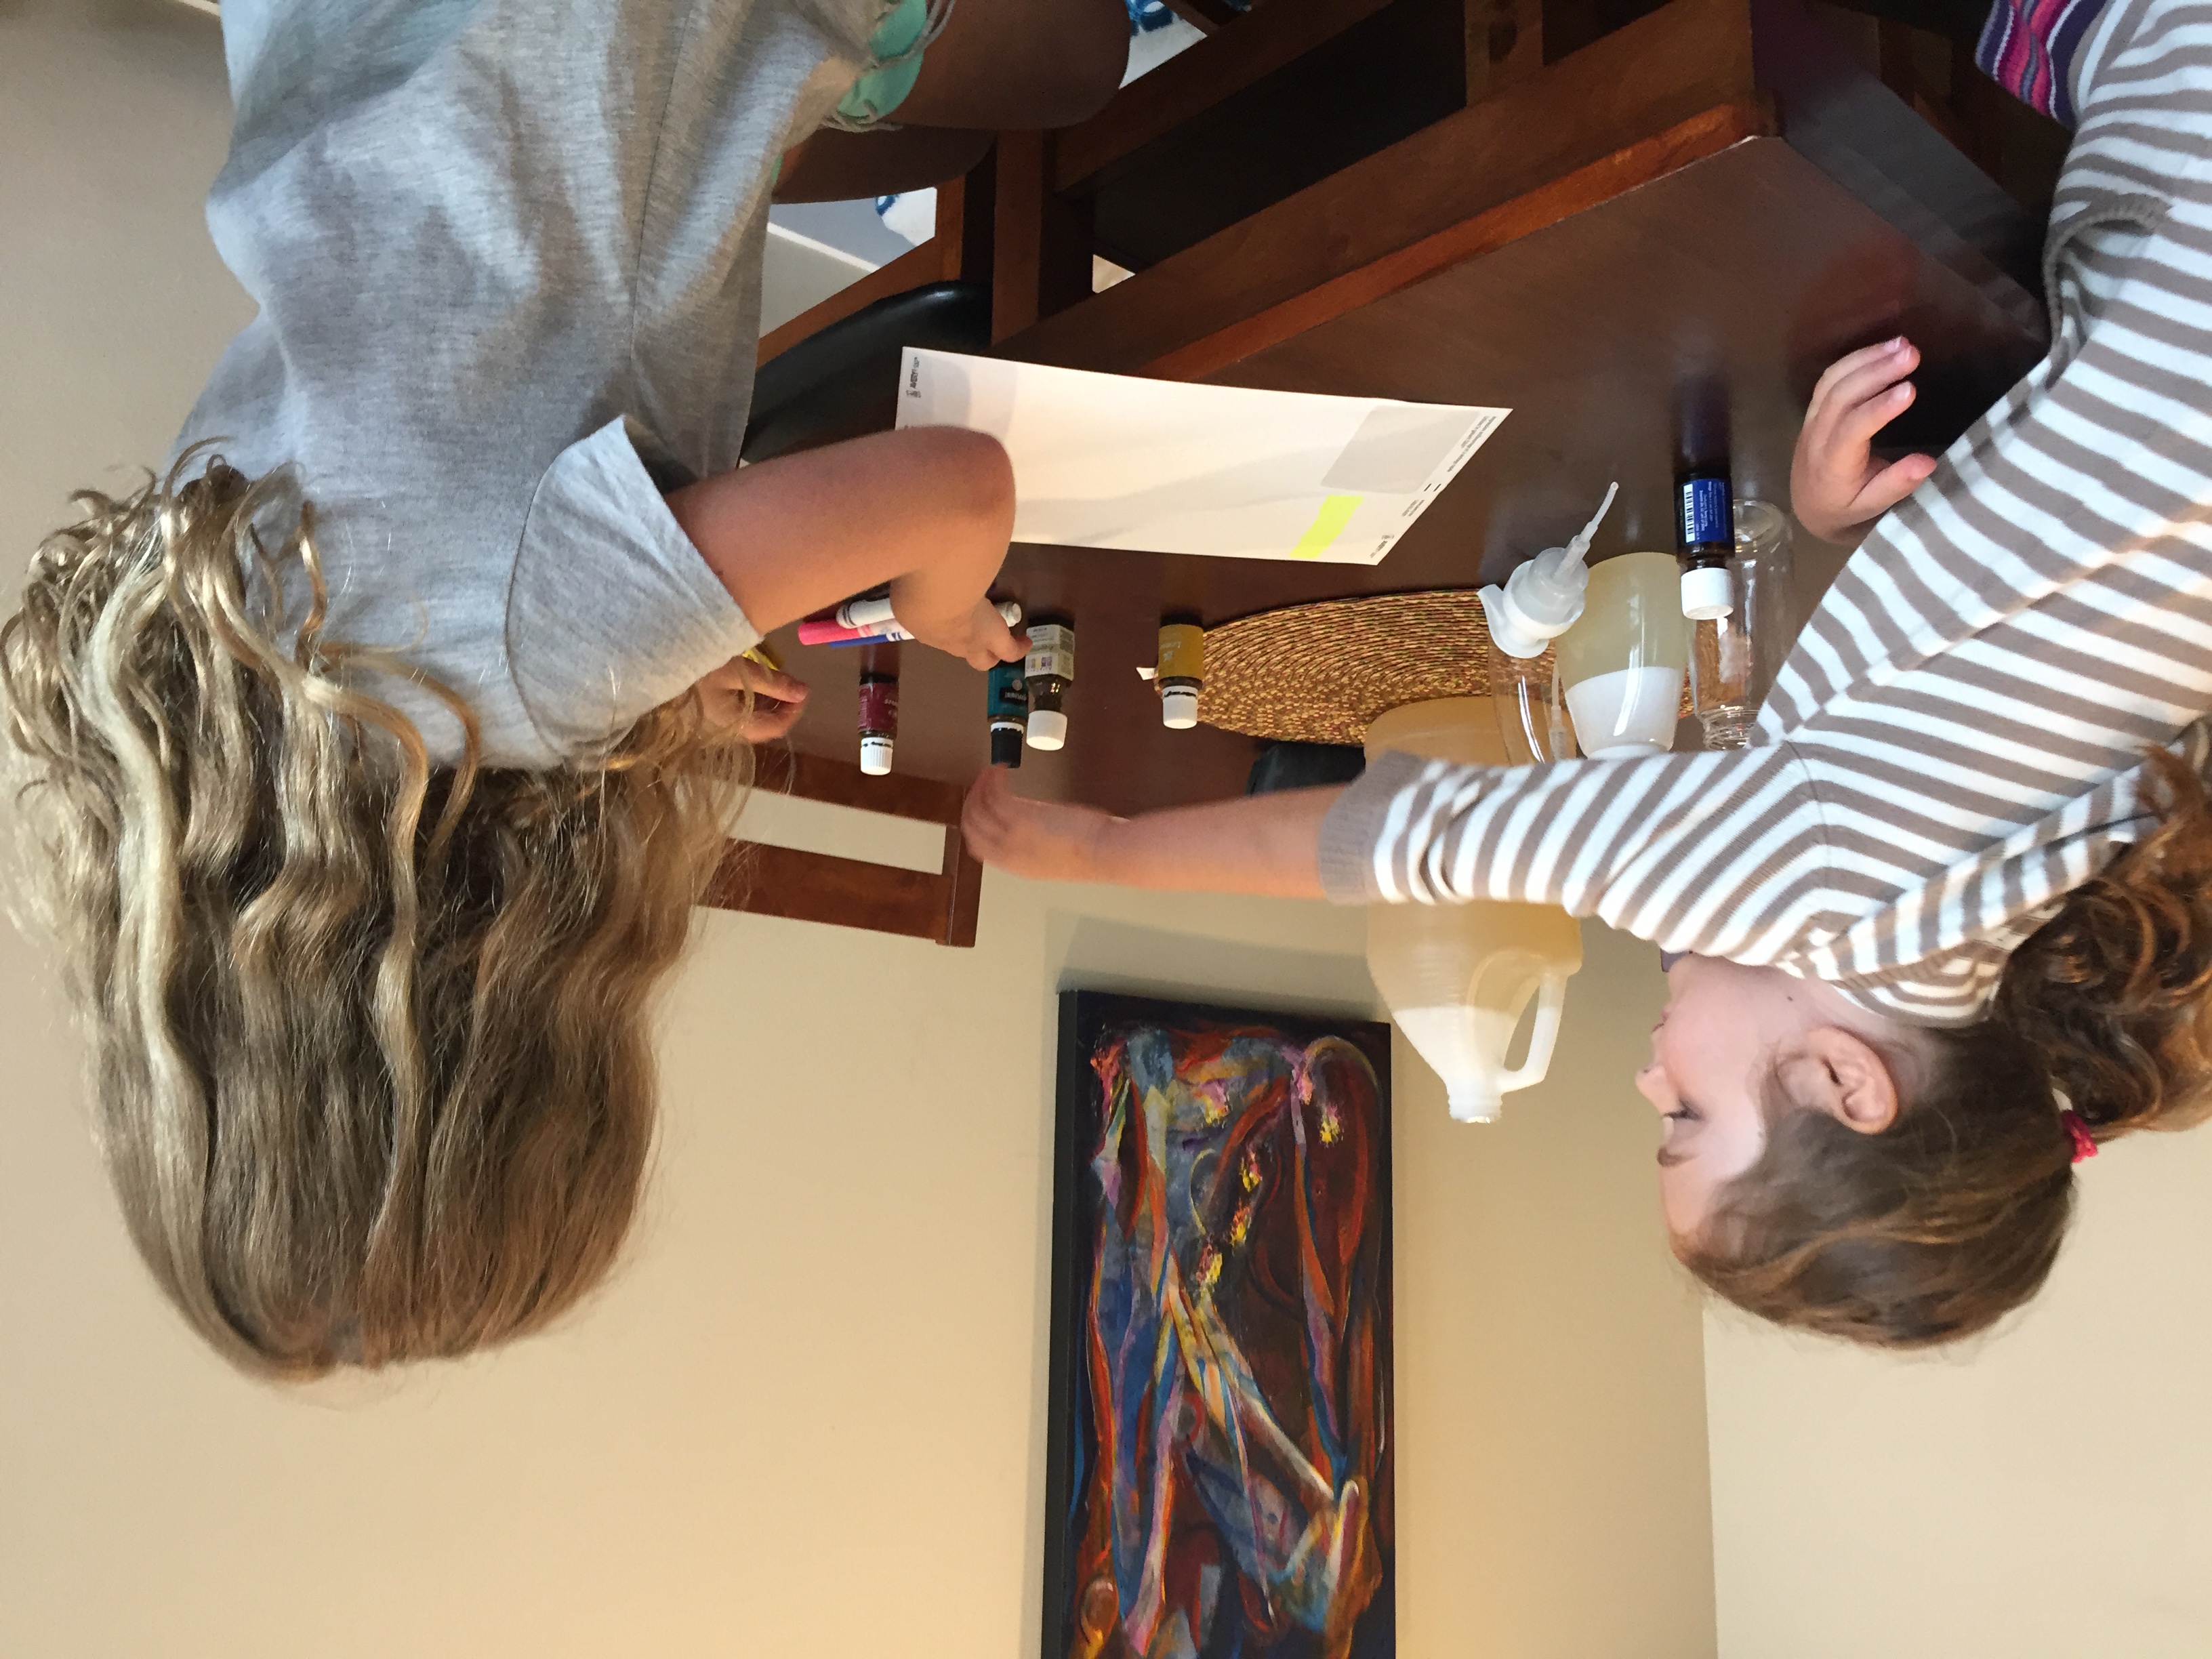
Step 5: Add 1/2 ml. of the essential oil of your choice. Older students can look up how many drops are in a ml (cheat: 5-10 drops!). (Adaptation: your kids can probably see the drops just fine, but if your child is also VI, they can count to 5 as the drops fall in, which will allow the right amount to fall in, give or take a few!)
Step 6: Shake again
Step 7: Use markers and any other decorations to create bright, fun labels. My kids simply wrote “lemon” or “peppermint” and drew pictures of lemons or mints, but you could also add the name of your “family’s soap company” or do more intricate artwork using stencils or the computer. Let the kids have fun with this part!
Step 8: Incorporate “lessons” to coincide with the project. My 10-year-old spent time figuring out the cost breakdown for each soap that we made, which required measurement conversions, multiplication and division. She typically dislikes word problems, but she was completely engaged in these real-life, multi-step equations, working really hard to set up and solve equations. She figured out the entire cost breakdown of the soap, including the price of each individual mailing label, each ml of essential oils, each ounce of castile soap, and each dispenser. She figured out how many bottles of soap we could make based on all of the supplies we had on hand. Once we determine how long each bottle of soap lasts us, she can do even more equations, such as how many months (or years!) the supplies will last.
Younger children can do simpler equations or even read articles on the health benefits of hand washing. For a great history lesson, kids could research when and where soap was first invented and the progression.
(Note: soap may start to separate between uses. If this happens, simply shake bottle.)
Some may see this project as more soap “mixing” than “making.” It’s a great first start, however, and it really stretches the concentrated castile soap, requiring less trips to the store, and is more economical than the natural, scented soaps you’d find at stores like Whole Foods.
Wow, the girls have grown since I saw them last! So determined and successful in what they try, I bet…with your guidance. I have been playing with essential oils recommended by my chiropractor and his massage therapist for different conditions, but I have an app to convert the mils to pills to bottles to tablespoons. I have used several of Dr Bronners products and never thought of putting in essential oils!
Yes, they had fun! They do grow so fast!
I never knew foaming soap doesn’t clog up drains as much – I just thought it felt better than regular soap, so I used it!